How to Polish Shoes Like a Pro: A step-by-Step Guide
Published: 17 Sep 2025
✨ More Than Just Shine — Why Shoe Polishing Still Counts
In a world obsessed with fast fashion and throwaway style, a well-polished pair of shoes sends a clear message: you pay attention to detail. Whether you’re stepping into a job interview, a wedding, or just your day-to-day grind, polished shoes don’t just look good — they last longer, resist wear, and preserve the leather’s integrity. That’s why learning the best way to polish shoes isn’t just about shine — it’s about shoe care as a whole.
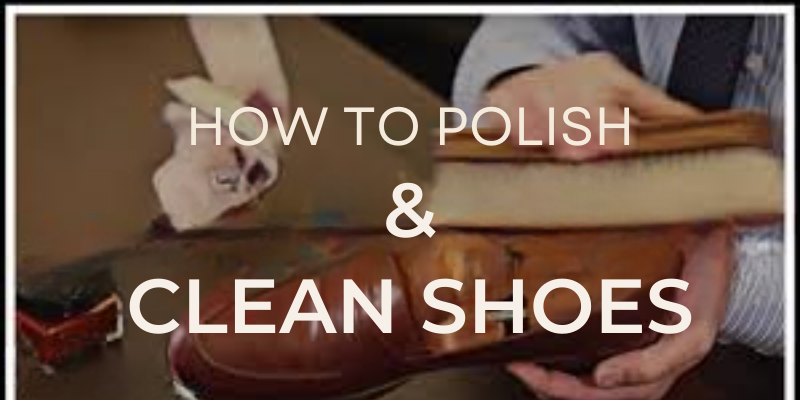
But here’s the kicker: most people either overdo it or use the wrong products entirely. In this guide, we’ll walk you through how to polish shoes properly. From selecting the right polish (cream vs. wax) to achieving a mirror finish, we cover it all. Whether you’re a beginner or just looking to refine your routine, you’ll leave with a full step-by-step shoe polishing guide that actually works — even at home. Let’s get into it.
🧰 Materials You’ll Need (And Why They Matter)
Before you even touch your shoes, having the right gear is non-negotiable. A good polish job starts with solid tools — and not all polish is created equal. First, decide between cream vs wax polish. Creams nourish and restore color, while wax offers a protective layer and that high-gloss shine. For daily wear, cream works. For a mirror shine, go with wax.

Here’s your basic shoe polishing kit:
- Horsehair brush – essential for removing dirt and buffing polish
- Polishing cloth – a soft, lint-free rag or an old cotton T-shirt
- Shoe polish – color-matched or neutral
- Conditioner – hydrates and protects leather
- Toothbrush or cotton swabs – for tight spots
- Shoe trees – keep the shape while you work
You don’t need fancy gear — many DIY shoe shine guides skip the shoe tree or use household items. But if you’re after the best way to polish shoes, start with the right foundation.
🧼 Prep Like a Pro: Clean, Condition, and Set the Stage
Polishing dirty shoes is like waxing a muddy car — pointless. The first step in any good shoe polishing guide is proper prep. Before applying anything, remove dust, salt, and grime using a horsehair brush or a damp cloth. For tough spots, a bit of saddle soap or baby shampoo mixed with water works wonders. Just don’t soak the leather — you’ll do more harm than good.
Next, remove the laces and place shoe trees inside, or use crumpled paper to support the shape. This gives you better access to every surface, especially the tongue and creases.
Once clean, apply a leather conditioner. This step is often skipped — but it’s crucial. Conditioning softens the leather, prevents cracking, and helps polish absorb evenly. It’s the secret weapon for keeping your shoes looking new longer.
Want to know how to polish shoes at home like a pro? Start by treating them like they matter — because they do.
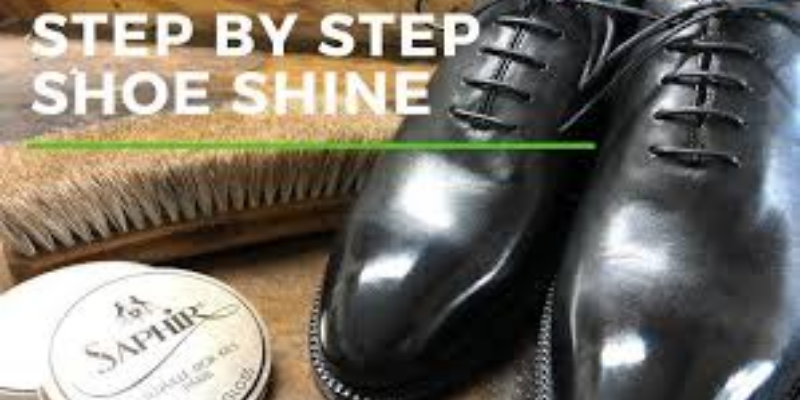
🖌️ Step-by-Step Shoe Polishing Process
Now that your shoes are clean and conditioned, it’s time to apply the polish. Using a soft cloth or polishing brush, dip into your chosen polish — wax for shine, cream for nourishment — and work it into the leather using small circular motions. This helps the polish penetrate the pores of the leather, especially in high-wear zones like the toe and heel.
Less is more here. Apply a thin, even layer and avoid slathering it on. If you’re using an old T-shirt, wrap it around your index and middle fingers for better control. Use a toothbrush or cotton swab to get polish into seams and tight areas.
Let the first layer dry for 15–20 minutes. While it sets, move on to the second shoe. For deeper color or more protection, you can add another layer — but always let each coat dry before applying the next.
This is the core of any solid shoe-shining routine. Whether you’re working on dress shoes, boots, or polishing shoes at home, this method delivers consistent, long-lasting results.
🪣 Buffing & Achieving the Perfect Shine
Now that the polish has dried, it’s time to bring out the shine — the step that transforms good into great. Start with a horsehair brush, using short, quick strokes across the surface. The goal isn’t to scrub — it’s to build gentle friction. That warmth helps the polish settle deeper into the leather while giving it a natural glow.
Once the surface is evenly brushed, grab a soft, lint-free cloth — a chamois or old cotton T-shirt works fine. Wrap it around your fingers, then buff the shoe in brisk, side-to-side motions. You’ll immediately start to see a soft shine. Want to level up? Add a drop of water and buff again — the beginnings of a spit-shine.
This step is where the magic happens. Whether you’re aiming for a subtle glow or building toward a mirror finish, the buff brings it all together. It’s the difference between “clean” shoes and shoes that turn heads.
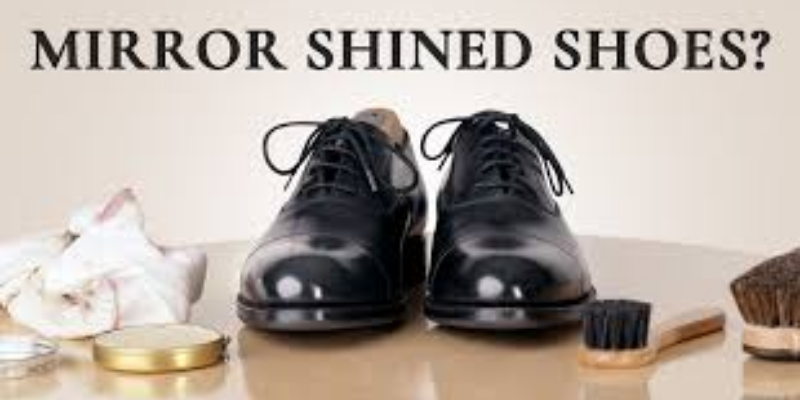
🔍 Going Advanced: Spit Shine, Fire Shine & Mirror Finish
Ready to take your shine to the next level? This is where polish turns into craft. For those who want that mirror-like finish — the kind that looks like glass — two advanced methods stand out: spit shine and fire shine.
Spit Shine isn’t as weird as it sounds. Dab a cloth in water (or lightly fog the shoe with your breath), then apply a small amount of wax polish in tight circles. Let each thin layer dry, then repeat. This builds up depth and gloss gradually. It’s a staple in military shoe polishing and creates a durable, high-shine finish.
Fire Shine is trickier — and riskier. You lightly melt the wax polish with a lighter, apply it warm, and quickly buff it in. This helps the wax settle into the leather for a hard, glossy coat. Just be careful: too much heat can damage your shoes.
Both techniques are optional, but if you’re chasing that spit-shine perfection or DIY shoe shine guide bragging rights, these are your go-to methods.
🛡️ Shoe Polish Maintenance Tips
Polishing your shoes is only half the game — maintaining that shine is what really pays off. If you want your leather to last and your effort to show, smart maintenance is key.
First, know your polishing schedule. For daily wear, a light touch-up once a week is enough. Formal shoes worn occasionally? A deep polish every few weeks does the job. Just don’t overdo it — too much polish builds up and dulls the leather over time.
After each wear, brush off dust and moisture with a soft brush or cloth. Insert shoe trees to absorb sweat and keep their shape. If you’ve just polished them, let them rest for a few hours before wearing — this allows the polish to cure.
Store your shoes in a dry, cool place. For rainy seasons, consider using a leather protectant spray to repel water and salt. And remember: a little leather conditioner every month keeps the material supple.
These simple habits turn occasional shines into long-term shoe care — and that’s where the real polish is.
⚠️ Common Mistakes to Avoid When Polishing Shoes
Even with the best intentions, it’s easy to mess up your shine. Avoiding a few common mistakes can save your shoes — and your time.
- Polishing dirty shoes
Traps dirt under the polish, causing scratches and a dull finish.
✅ Always clean your shoes thoroughly before polishing. - Using too much polish
Leads to buildup, cracking, and uneven shine.
✅ Apply thin, even coats — especially if you’re aiming for a mirror shine. - Skipping conditioner
Dry leather won’t absorb polish well and is more likely to crack.
✅ Always condition before polishing to keep leather soft and healthy. - Choosing the wrong color polish
Can darken or stain your shoes permanently.
✅ Match the polish to your shoe color, or use a neutral polish if unsure. - Not letting the polish dry between layers
Causes smearing and prevents proper shine.
✅ Let each layer dry for at least 15–20 minutes before adding the next.
Learning how to polish shoes properly also means knowing what not to do. Avoid these mistakes, and you’ll keep your shoes looking sharp, polished, and built to last.
🧵 Shoe Type Considerations: Know What You’re Working With
Not all shoes are created equal — and not all of them should be polished the same way. Understanding your shoe’s material and finish is key to getting the best results without causing damage.
- Full-grain leather
The most Polish-friendly material. It handles both cream and wax polish well and responds beautifully to conditioning and buffing. Ideal for mirror shine finishes. - Patent leather
Skip the polish. Use a damp cloth and a patent leather cleaner. Buff lightly for shine. Traditional polish can ruin the glossy coating. - Suede and nubuck
Never polish. These materials require a suede brush, eraser, and protective spray — not wax or cream. Moisture and polish can permanently stain them. - Synthetic leather
Can handle light cream polish, but avoid heavy wax buildup. Buff gently — synthetic surfaces don’t absorb products the same way. - Canvas or fabric shoes
These should only be cleaned, not polished. Stick to mild soap and water.
The best way to polish shoes depends entirely on the material. Use the wrong product, and you’ll do more harm than good. Always check the label before you shine.
👣 Polishing for Different Lifestyles & Occasions
Not everyone wears shoes the same way — and not all shoes deserve the same level of polish. Tailoring your routine based on how and where you wear your shoes makes all the difference in both appearance and longevity.
- Office Professionals
If you’re in dress shoes daily, stick to a weekly polish with cream polish to maintain color and softness. Add a mirror shine to the toes for extra edge in boardroom settings. - Formal Events
For weddings, interviews, or black-tie affairs, go all in: deep clean, condition, and layer wax polish for that high-gloss finish. A spit-shine or mirror finish goes a long way here. - Military / Service Workers
Precision matters. Routine spit shining is standard, and fire shining may be used before inspections. Always remove old layers and work with thin coats for max shine. - Commuters & Daily Wearers
Rain, dust, and pavement are rough on shoes. Clean often, apply a neutral polish or light cream, and finish with a water-repellent spray. Leather conditioner is essential for dry or humid climates.
The key takeaway? Your polish routine should fit your lifestyle — not just your shoes.
🏁 Final Thoughts: Polish with Purpose, Shine with Confidence
Polishing your shoes isn’t just about appearance — it’s about respect. Respect for your investment, your style, and how you present yourself. Whether you’re new to this or refining your routine, knowing the best way to polish shoes puts you ahead of the curve.
You’ve now got everything: how to clean, condition, apply cream vs wax polish, buff, and even go advanced with a mirror shine or spit-shine method. You’ve learned how to avoid mistakes, adapt your routine by material and lifestyle, and keep your shoes looking sharp for the long haul.
At the end of the day, polished shoes don’t just reflect the light — they reflect your effort. Take pride in the process. Keep your tools ready, your polish thin, and your shine intentional. Because when your shoes are clean, you walk differently.
❓ FAQs: Common Shoe Polishing Questions
Here are some of the most frequently asked questions about polishing shoes — answered simply and clearly.
For daily wear, once a week is ideal. Occasional-use shoes can be polished every 2–4 weeks. Always clean and condition before applying polish.
Yes, neutral polish works on any color and adds shine without altering the tone. However, it won’t restore color like a matching polish would.
Cream nourishes the leather and restores color. Wax provides a hard, protective layer with more shine. For best results, use cream first, then wax.
No — always match polish to the shoe color. Using the wrong shade can stain or darken leather. When in doubt, go with neutral.
Apply a little acetone or rubbing alcohol with a cloth to strip excess polish. Follow up with leather conditioner before reapplying new layers.
Got more questions? Drop them in the comments or bookmark this guide — because once you know how to polish shoes properly, you’ll never settle for scuffed leather again.


- Be Respectful
- Stay Relevant
- Stay Positive
- True Feedback
- Encourage Discussion
- Avoid Spamming
- No Fake News
- Don't Copy-Paste
- No Personal Attacks
- Be Respectful
- Stay Relevant
- Stay Positive
- True Feedback
- Encourage Discussion
- Avoid Spamming
- No Fake News
- Don't Copy-Paste
- No Personal Attacks
